This section describes the main features and views of the Smart Bowl Kiosk feature, that can be activated and customized from the Smart Bowl Cloud settings page on the Preferences section.
The Smart Bowl Kiosk feature can be accessed into two main ways:
-
By installing and configuring physical kiosk stations on your bowling center. These devices are directly provided by the distributor and can be placed inside your bowling center. These devices will communicate directly with the server and will allow your customers to autonomously create a bowling session, a reservation or a food/drinks order. The system supports both vertical and horizontal layout and will adapt to the screen where it is running on
-
By accessing from the internet through desktop or mobile devices. Since the Smart Bowl Kiosk is a webapp it will be available from any device with a modern browser installed. To access the application from the internet you must follow the link or scan the qr codes that are available from the useful links and qrcodes section of the Smart Bowl Cloud settings page
For testing and see your application from your local area network you can navigate to the server url:
http://192.168.60.50:8083/self-checkin
Note that the server address could be different based on your configuration and that in order to access this link you must be on the same network.
E.1 Start
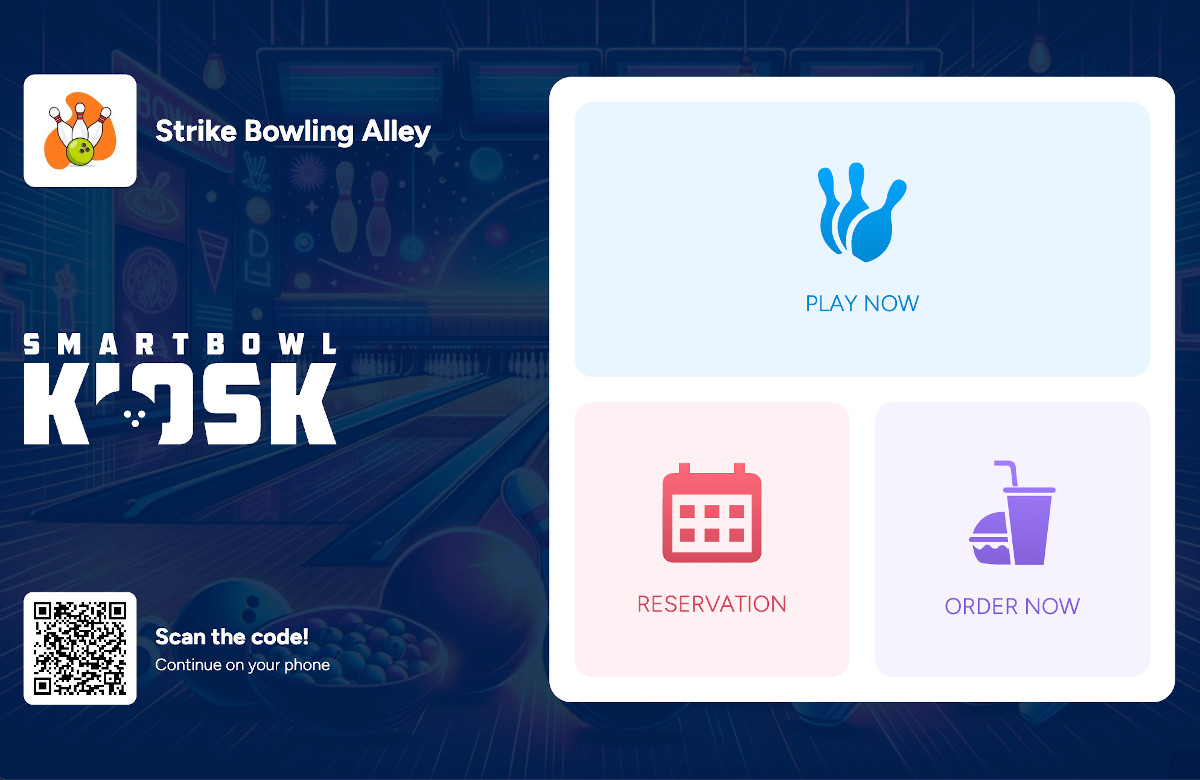
This is the main screen of the application and the starting point for the customer experience. The background image that is visible is customizable and is the same image that has been previously configured. At the top left of the screen you can see the bowling logo and the name of the bowling center that you have previously configured. At the bottom left of the screen you can see the qr code that will allow your customers to use the platform directly from their smartphones by scanning the code with the camera. On the right side of the screen you can see the three main actions that can be performed on the application:
-
Play now: allows customers to create a new bowling or time game session that should be played as soon as possible
-
Reservation: allows customers to create a new bowling or time game session for a date and time in the future. This choice will follow the same path of the play now option but it will additionally ask the customer to select a date and a time
-
Order now: allows customers to simply create an order for food and drinks, without creating a bowling or time game session
E.2 How many players?
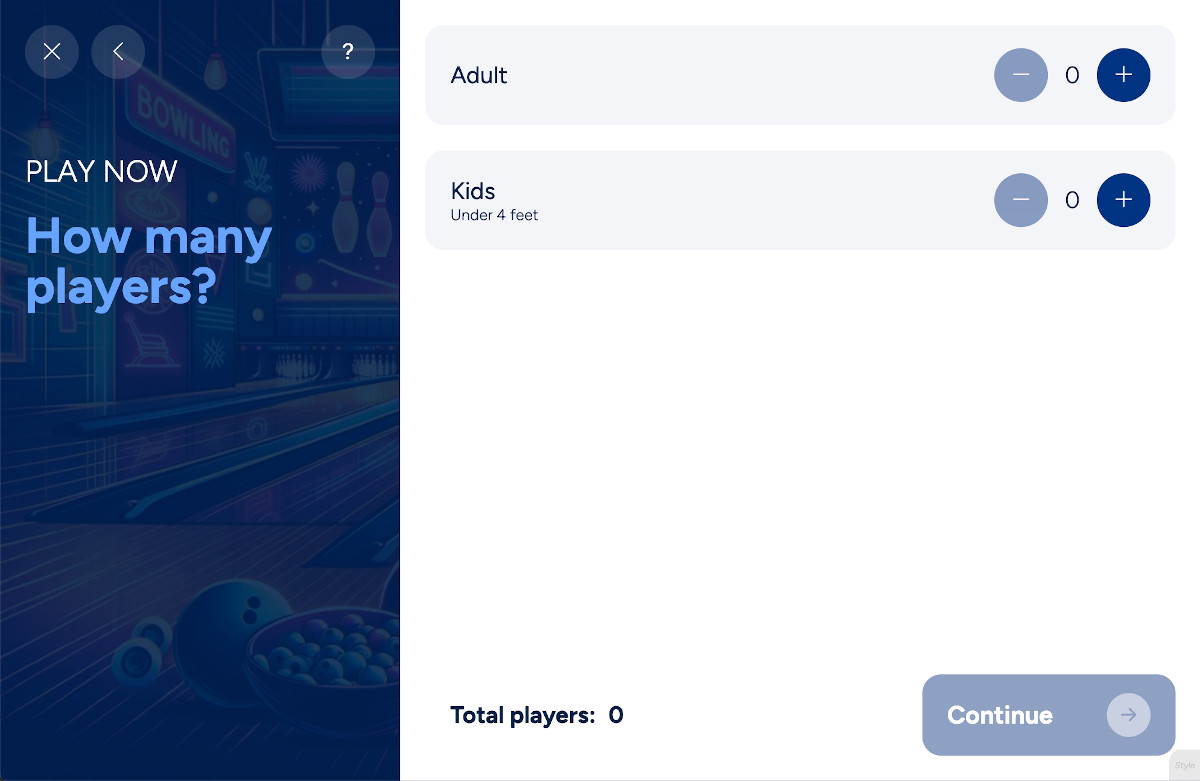
From this page you can set the number of players for each category of players that has been previously defined. Click on the plus icon to add a player or click on the minus icon to reduce the number of players. Please not that the availability of packages depends on the number of players you will choose at this step.
Click on Continue button to proceed with the next step.
E.3 Choose your activity
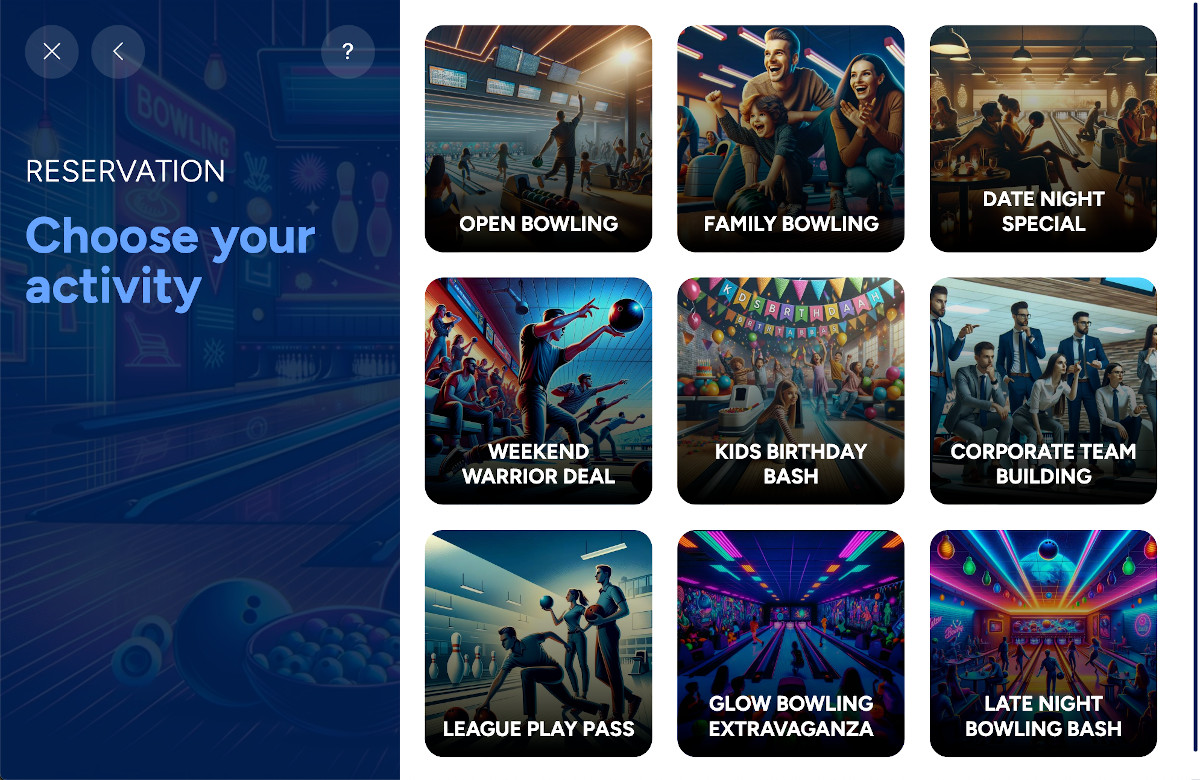
From this page you can view the packages that you have created and configured. Packages are displayed on a grid and they may be unavailable depending on specific conditions. If a package is not available it will be colored in black/white and if you click on it you will see the reason why it is not available right now.
Click on a package to proceed to the next step.
E.4 How long do you want to play?
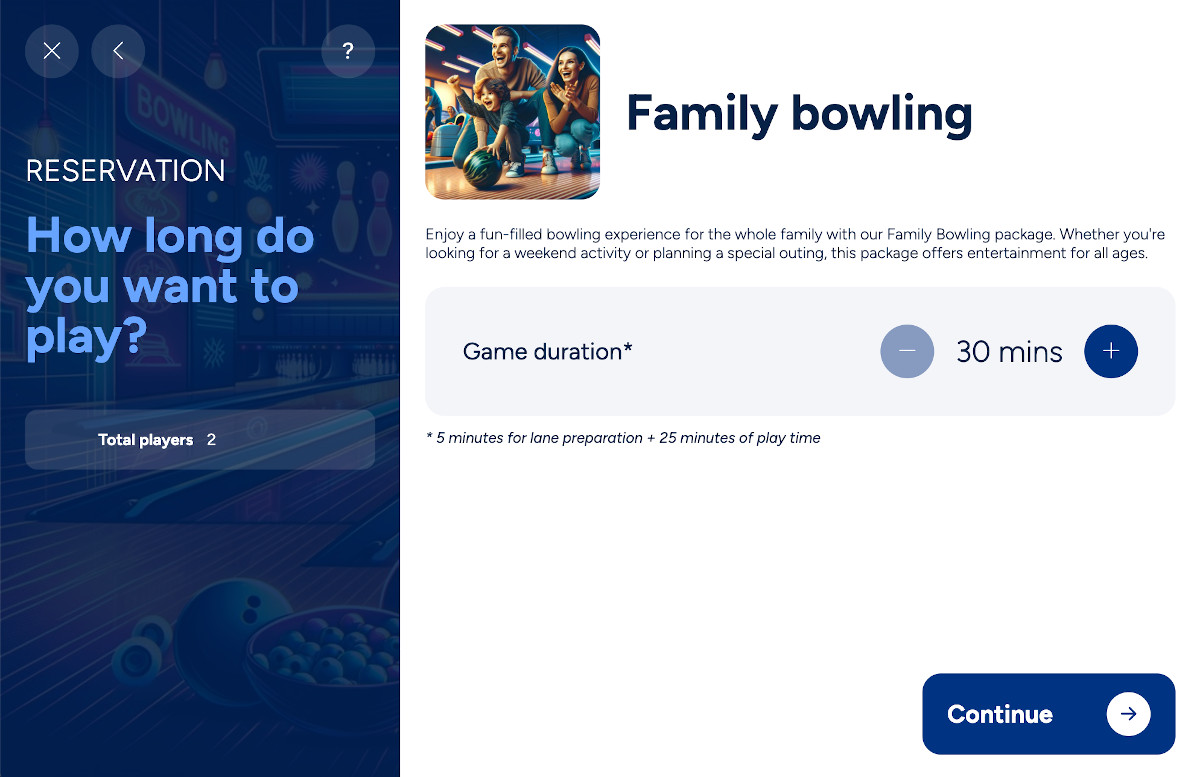
From this page it is possibile to see the description of the package that you have chosen and set the duration of the session, that could be expressed in minutes or games, depending on the package configuration.
Click on the plus icon to increment the duration or the minus icon to decrement.
Click on Continue button to proceed to the next step.
E.5 Choose when you want to play
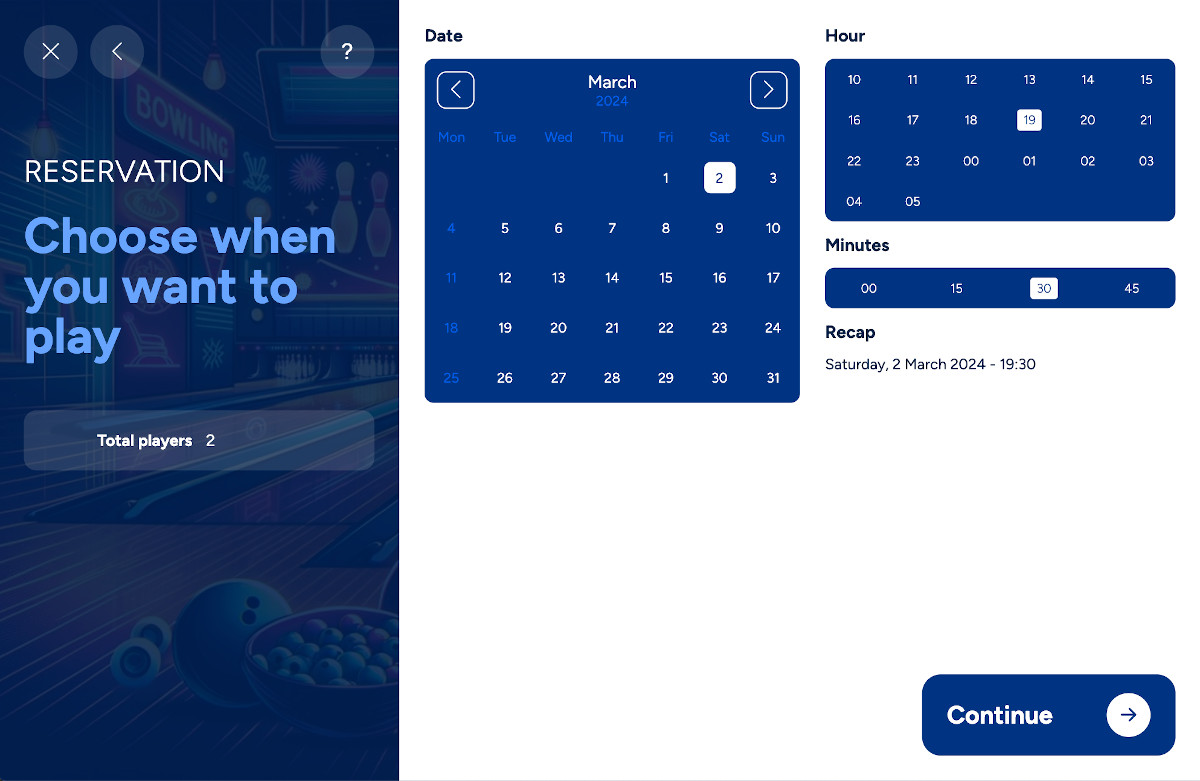
If the initial choice on the start page was Reservation then this page will ask the customer to choose a date from the calendar and choose the time of the day when he wants to play. Once the choices have been made you will see a recap.
Click on the Continue button to proceed to the next step.
E.6 Advanced Reservation Algorithm
The kiosk uses an advanced algorithm to prevent reservation conflicts:
Validation layers:
-
Minute-level precision: Time slots calculated with minute accuracy
-
Automatic padding: Configurable gap between reservations (typically 5-15 minutes)
-
Operating hours: Validates against center opening times
-
Package validity: Checks activation and expiration dates
-
Lane availability: Excludes lanes in maintenance or reserved
-
Geometric validation: Prevents any time/lane overlaps
Note: Padding time is configured by administrators in Setup > Reservation > RESCHEDULER_TIME_GAP
to ensure adequate preparation time between sessions.
E.7 Add players information
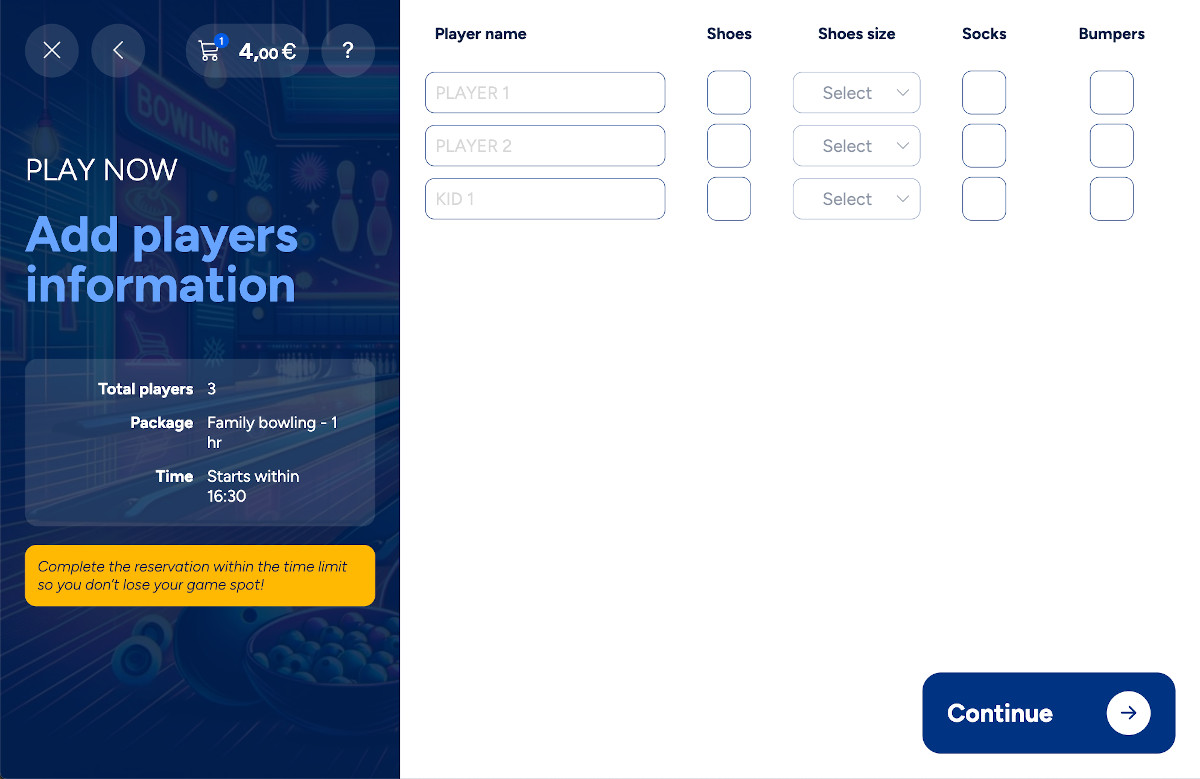
From this page you can configure each player that you have chosen on the first step. If you leave these fields blank then the default value will be used. Default values can be configured on the Smart Bowl Cloud settings page. For each player you can customize:
-
The name. Note that if you leave the field blank then it would take the default value
-
Whether he wants to rent the shoes and in that case the shoe size must be set. Please note that this column could be hidden dependning on the package configuration
-
Whether he wants to rent the socks. Please note that this column could be hidden dependning on the package configuration
-
Whether he wants to use the bumpers. Please note that this column could be hidden dependning on the package configuration
Click on the Continue button to proceed to the next step.
E.8 Add food and beverages

From this page customers can add food or beverage items to the reservation or to the session. This is also the first step if the initial choice is Order now.
Navigate to categories by clicking the relative button on the sidebar. Click on any item to open its details:
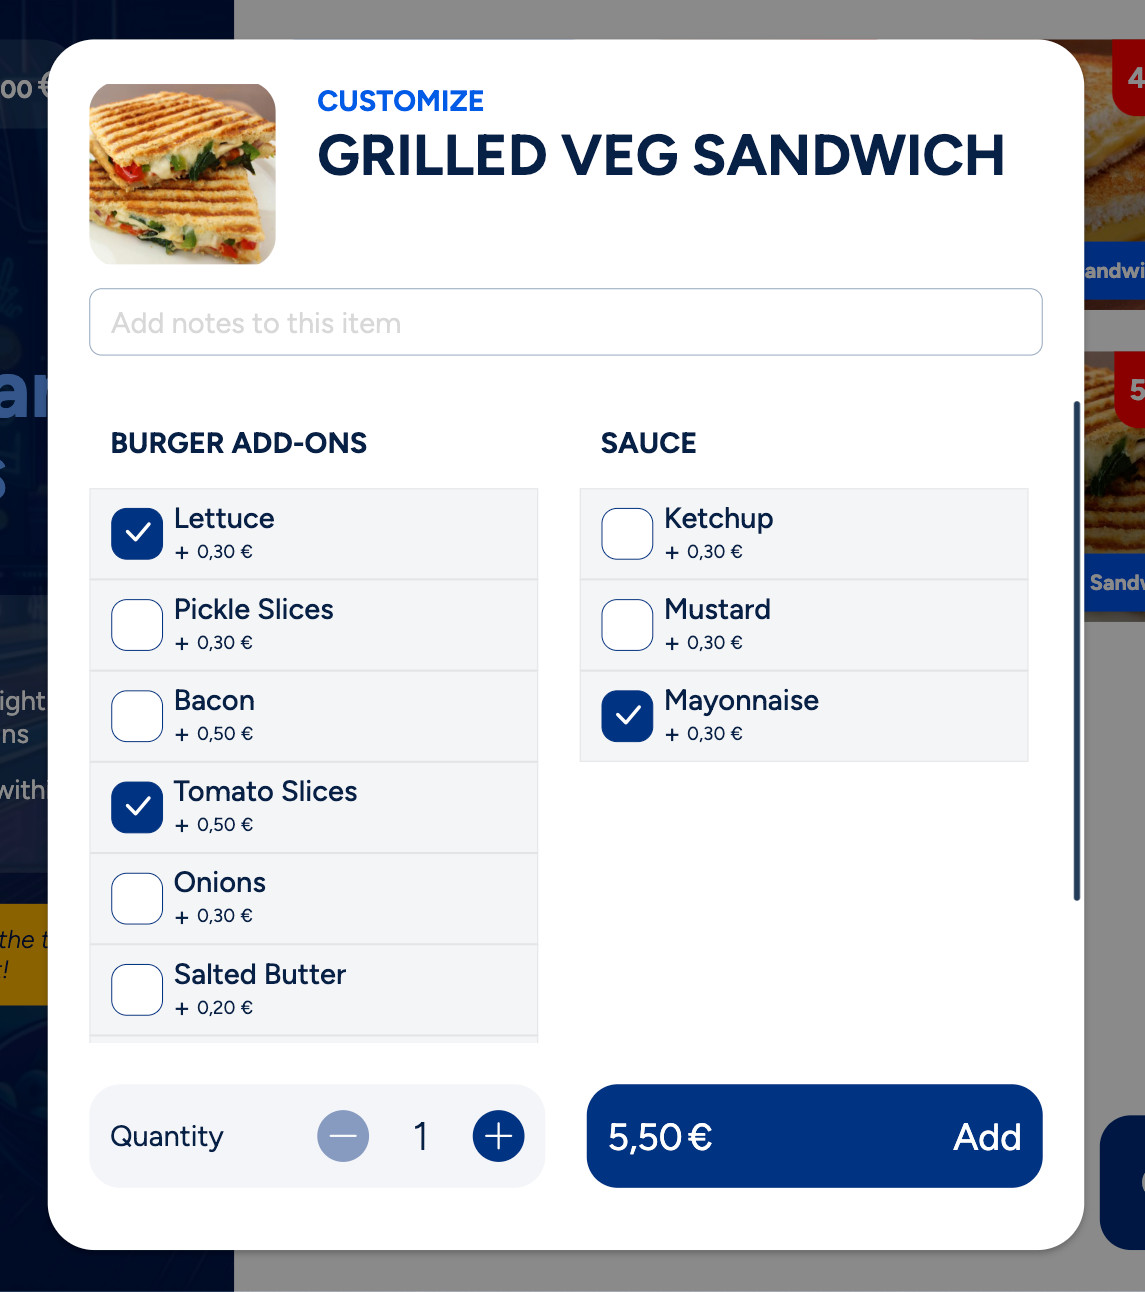
From this popup you can:
-
Add some notes to the article you are about to add
-
Select the article options by using the checkboxes
-
Update the quantity of the article
Click on the Add button to add the article to the cart.
Click on the Food order button to update the items you have added so far.
Once you have finished the selection of the articles then click on the Continue button to proceed with the next step.
E.9 Review your cart
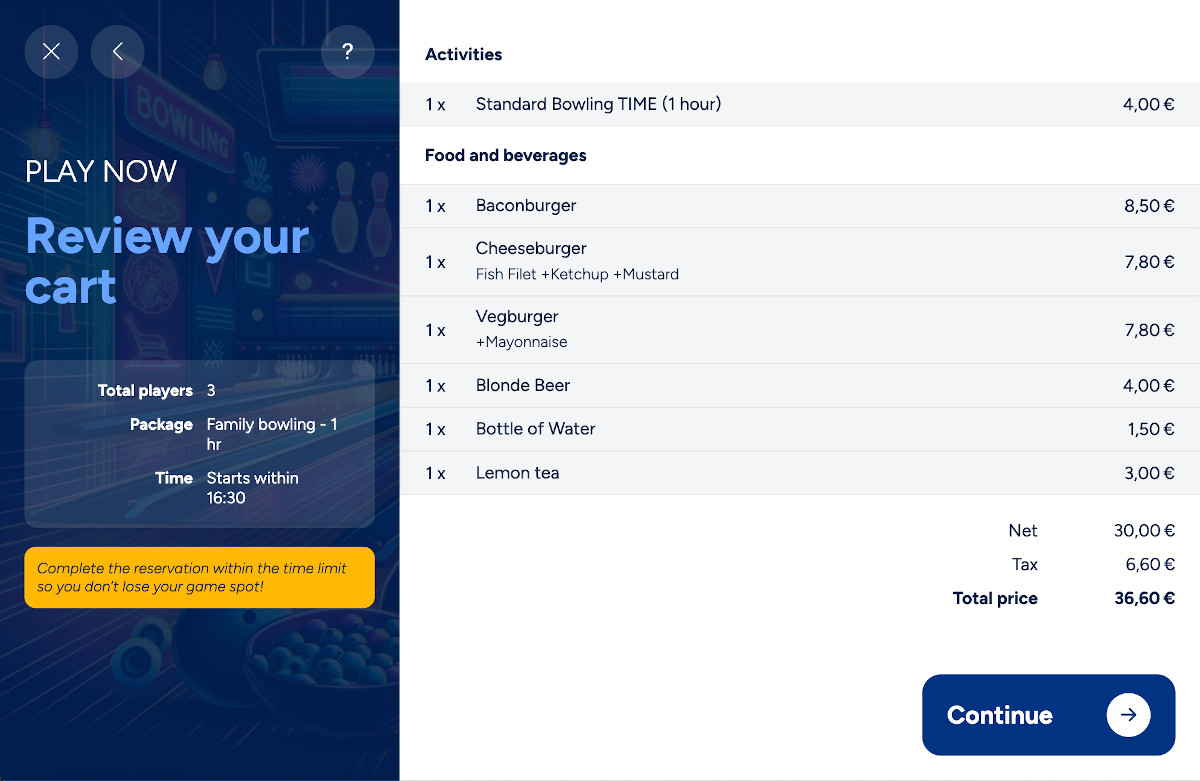
From this page you can see the summary of your session, by viewing all the items that have been added, including bowling or time game sessions, shoes, socks and food/drinks.
The cart displays precise item descriptions:
-
Bowling activities: Exact rate name (e.g., "Weekend Rate", "Evening Rate")
-
Time-based games: Configured rate name for arcade, billiard, etc.
-
Rental items: Item name (e.g., "Shoe Rental", "Socks")
-
Food & beverages: Article name with selected options
This ensures transparency and clarity in the checkout process.
If the system is configured for accepting tips then the gratuity popup will appear:
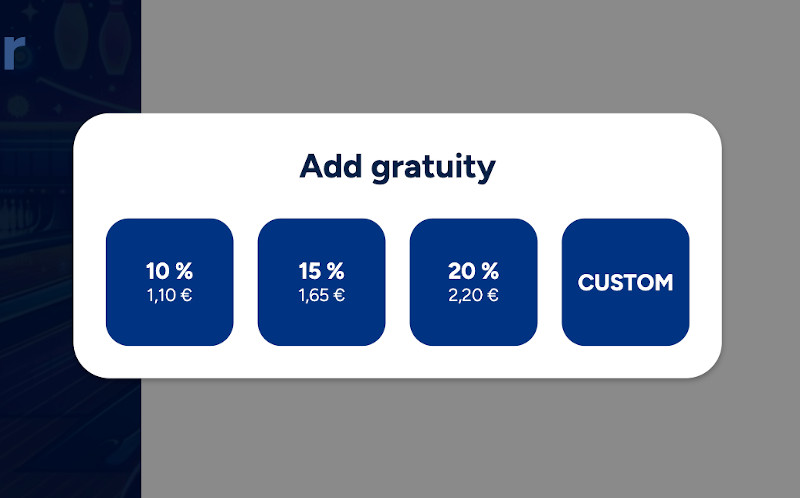
Select one of the options availability to add the relative gratuity.
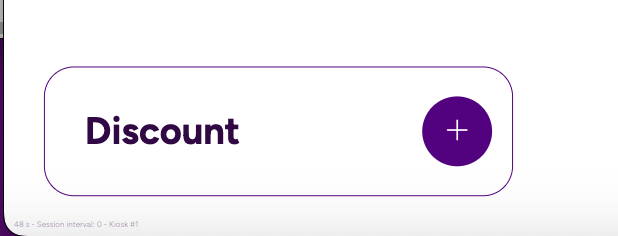
You can also insert a discount code from the dedicated button:
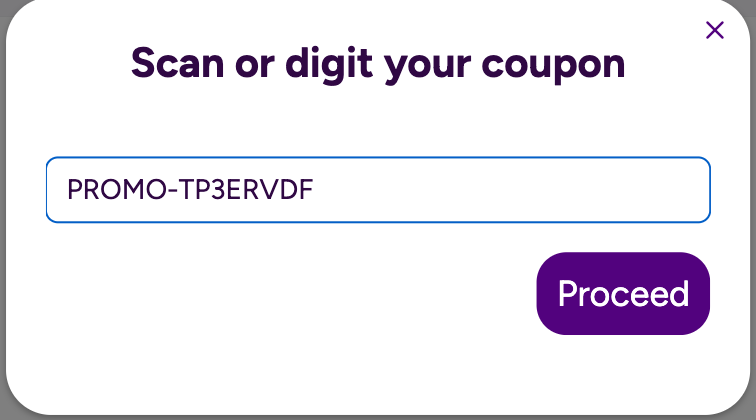
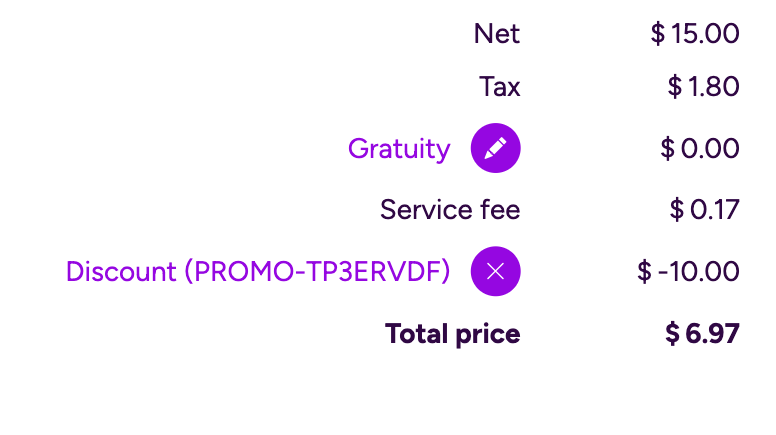
If the code is correct you will see it in the details of your order.
Click on the Continue button to proceed to the next step.
E.10 Where do you want to receive the order?
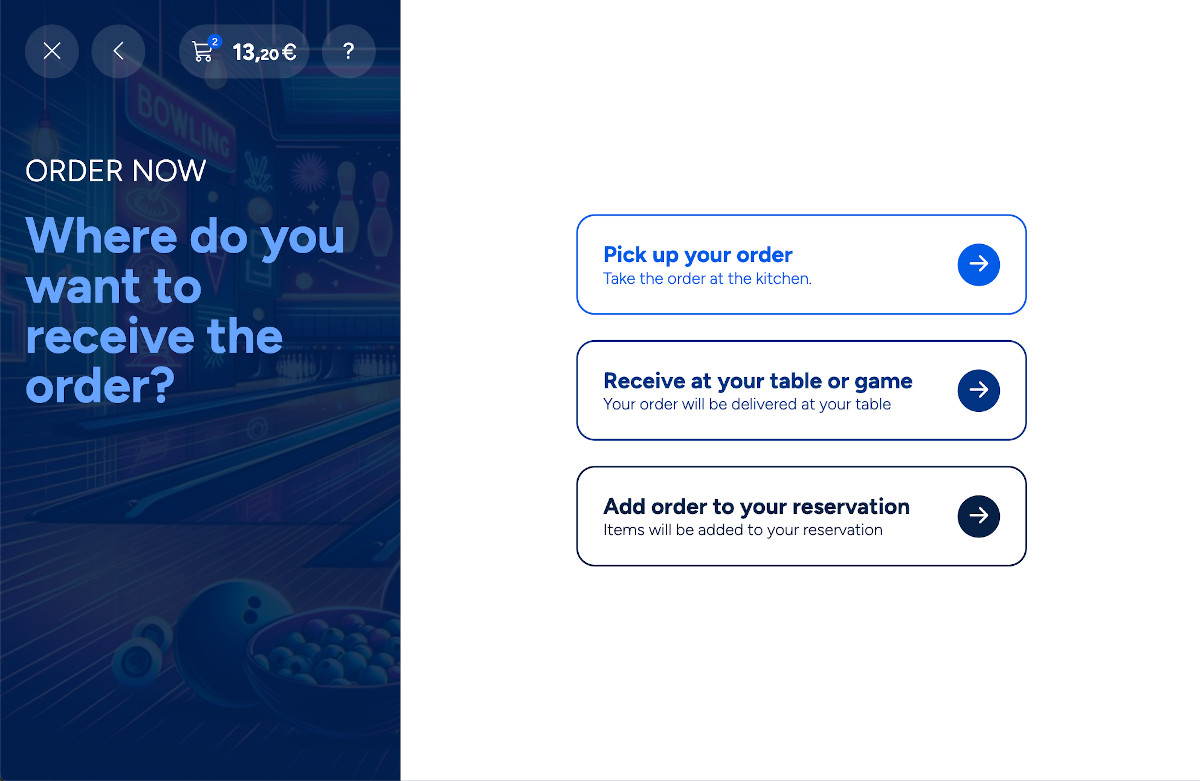
If the choice on the initial base was Order now then from this page you will be asked to determine where your order should be delivered. Choose between three options:
-
Pick up your order: it means that the customer will autonomously pick up the order to the default destination
-
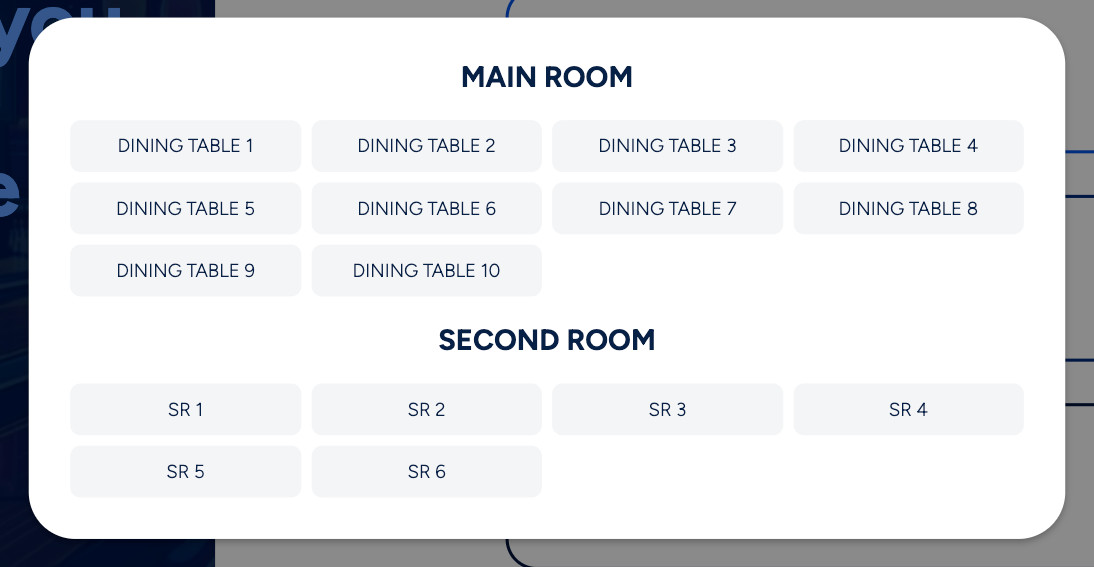
Receive at your table or game: in this case the customer will be asked to choose the destination of the order among the possible choices
-
Add order to your reservation: in this case the customer will be asked to enter a reservation code that has been previously created
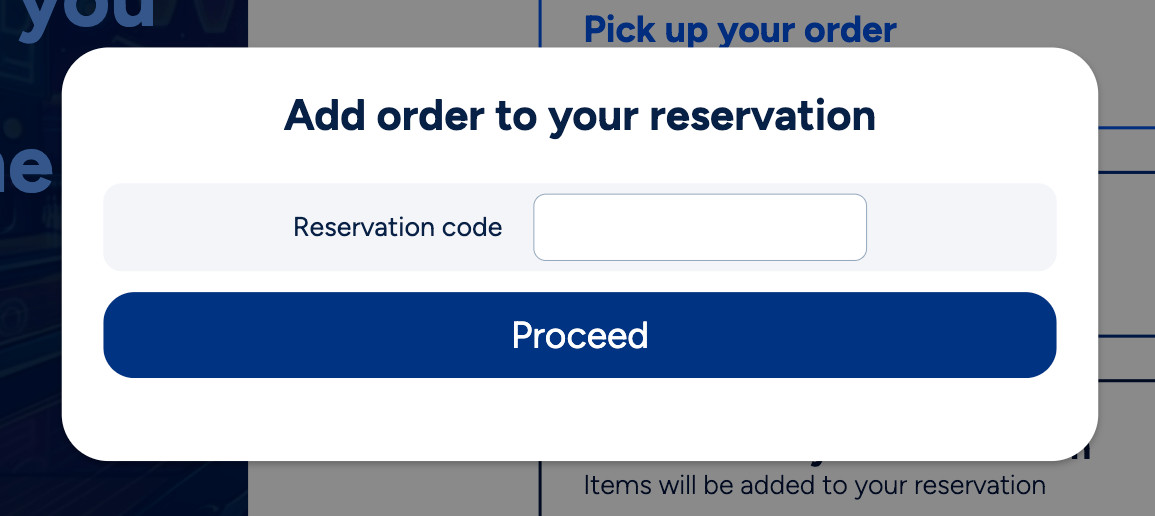
Enter the reservation code on the proper box and click on the Proceed button. If the reservation exists then the current order will be appended to it instead of creating a new order
E.11 Type your information
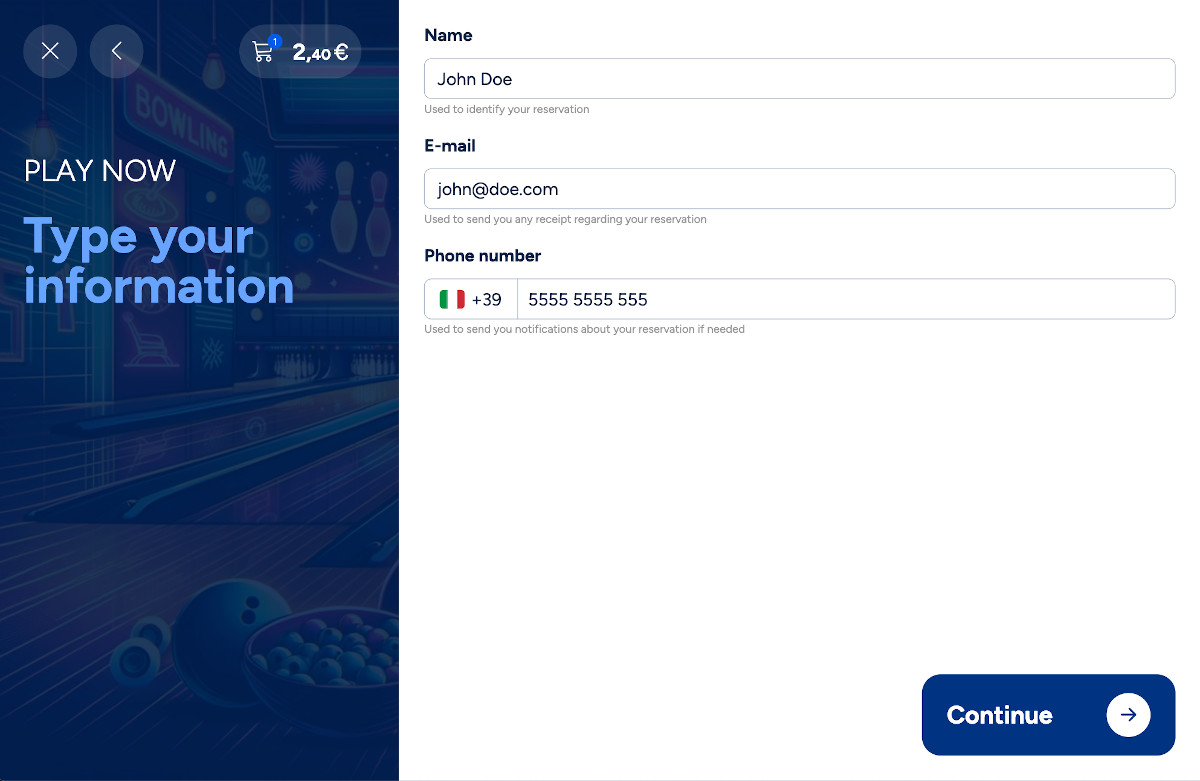
From this page the customer will enter his personal information in order to collect the required data to proceed with the confirmation. Required information is:
-
Name: enter the name and the Surname
-
E-mail: enter the email address. This information will be used to send the customer the receipt of the reservation. Note that this field is not required when the initial choice is "Order now"
-
Phone number: enter the phone number. This information will be used to send the notify the customer with a text notification. Note that this field is not required when the initial choice is "Order now"
Once all the information are provided click on the Continue button to proceed to the next step.
E.12 Choose how to pay
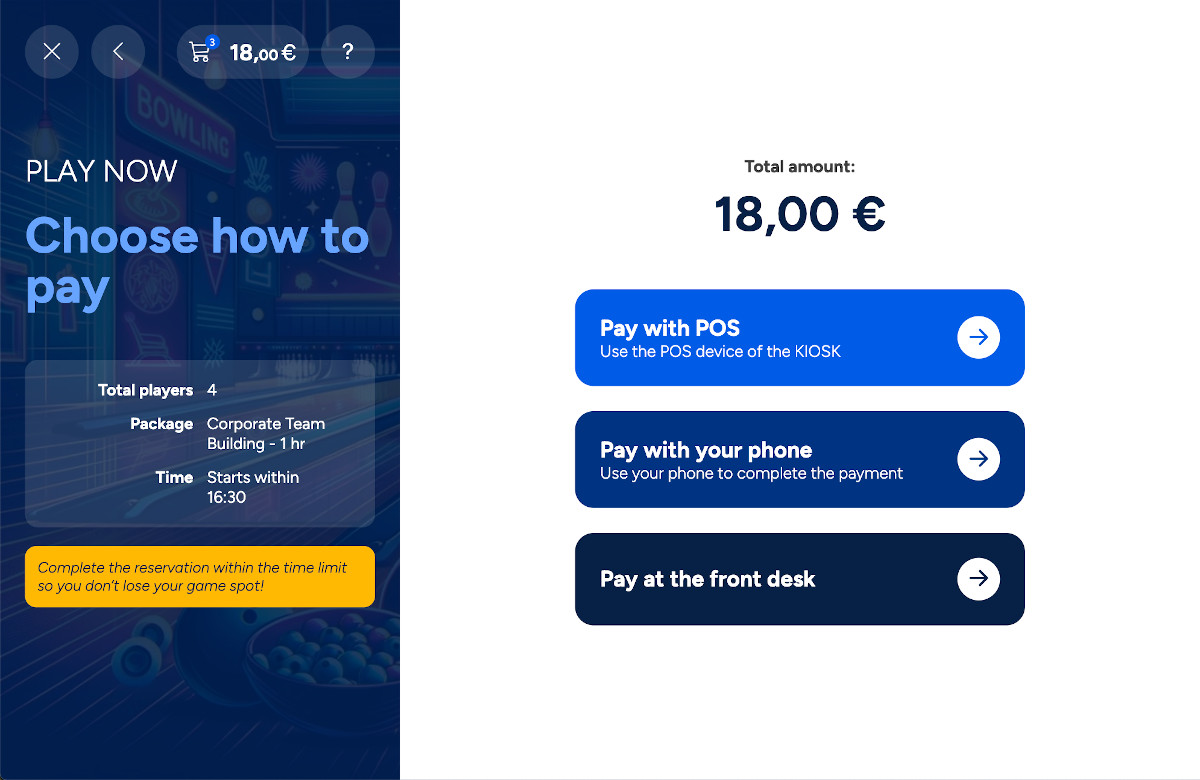
From this page the customer will decide how to pay for the reservation/order he is about to confirm. Depending on the configuration the available options are:
-
Pay with POS: if a POS device is configured and connected to the current kiosk device then this option will allow you to pay with credit card by using a physical POS device provided by Stripe.
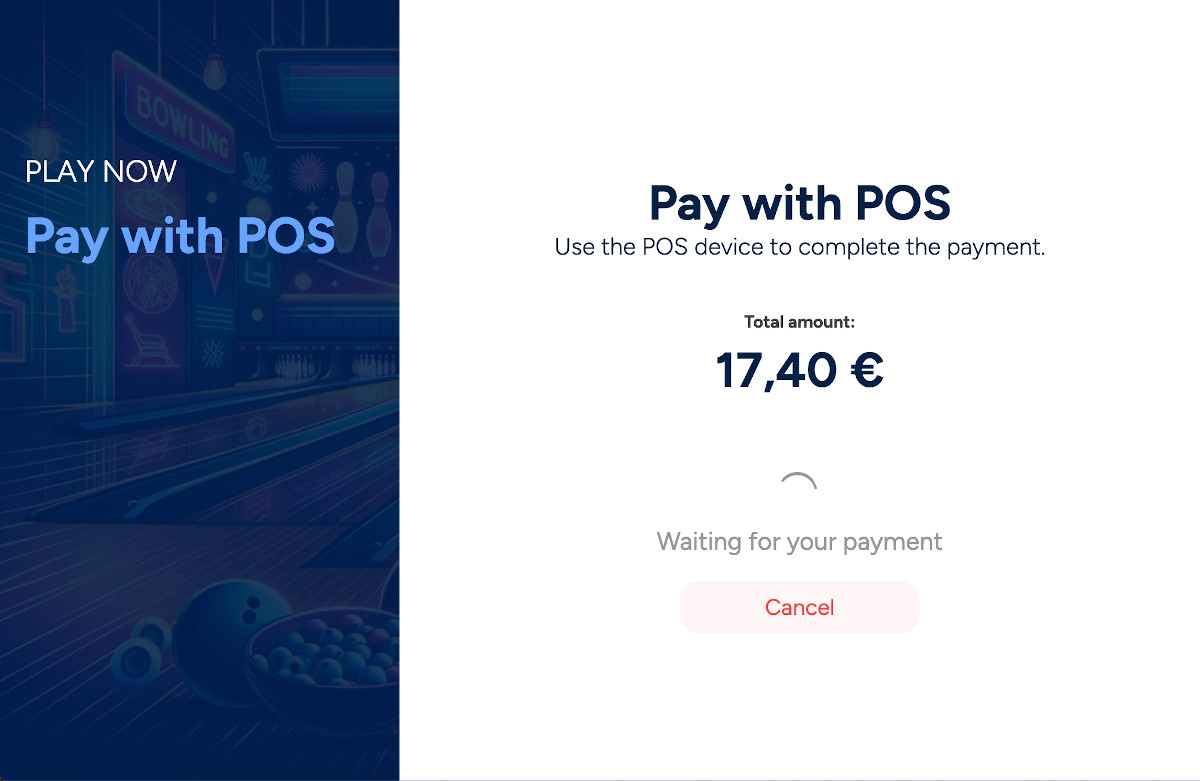
Click on the cancel button to cancel the transaction and return to the previous page.
-
Pay with your phone: in this case you will be redirected to a page where a qrcode is shown
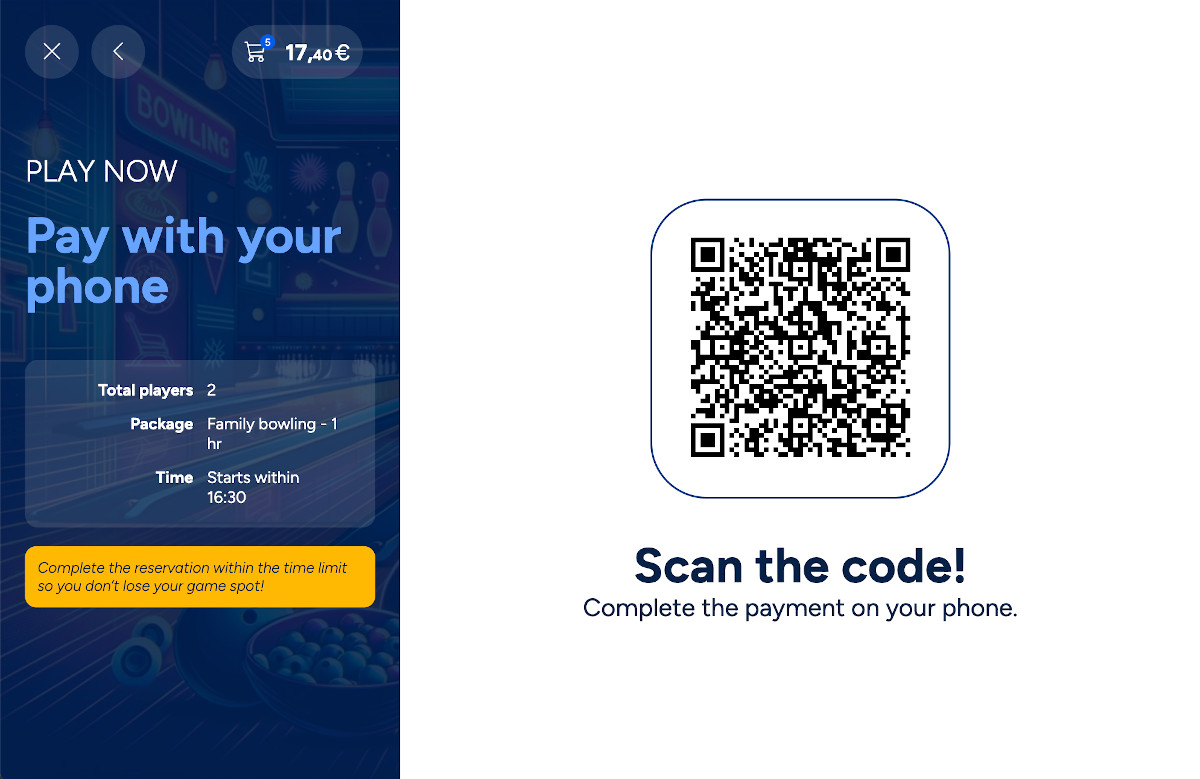
At this point the customer must scan the qrcode and pay with his smartphone by directly entering the credit card information or by using a digital wallet

-
Pay at the frontdesk: if this option is enabled then the session on the kiosk will be completed and the customer will have to go to the frontdesk and perform the payment from there
Note: Only paid reservations are displayed on lane monitors. Unpaid reservations remain hidden until payment is completed.
E.13 Thanks for your reservation
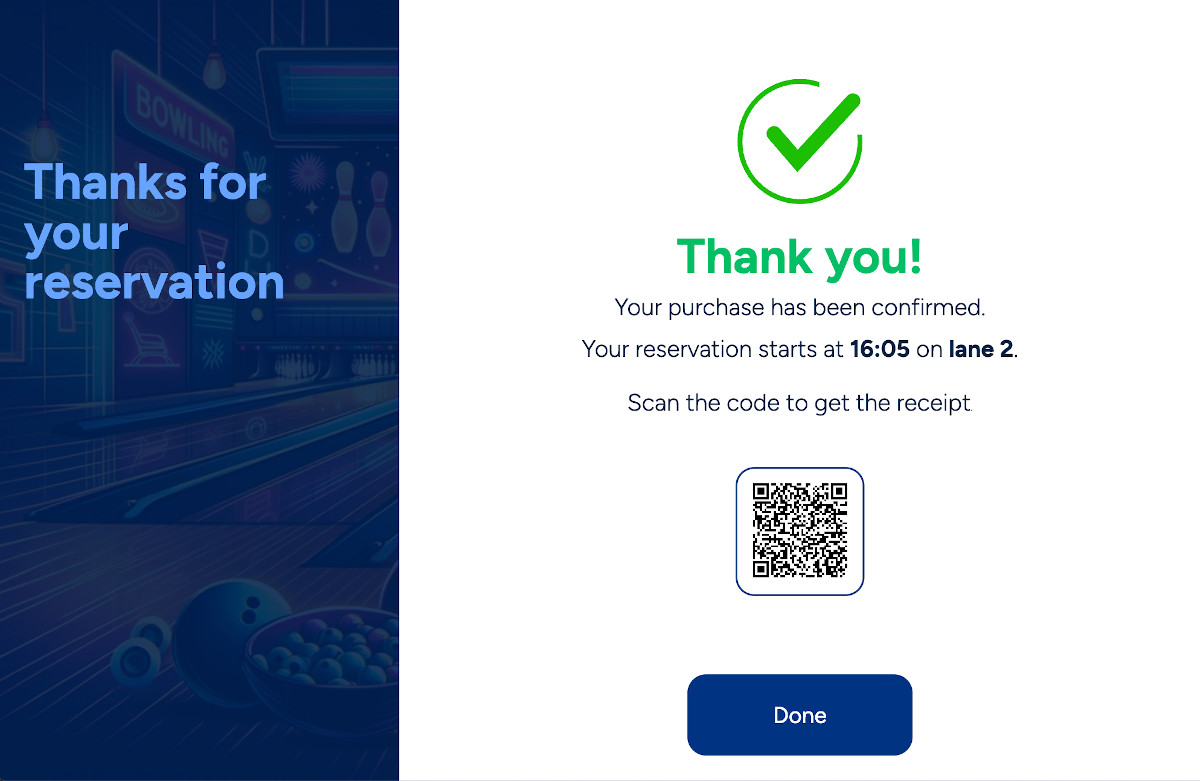
After the reservation has been completed and paid the customer will be redirected to the thank you page. This page will show a brief summary of the reservation details and will show you the reservation qr code. This qr code contains a link to the reservation details page.
Click on the done button to return back to the start page.
E.14 Receipt Printing Options
The kiosk offers three receipt printing modes:
1. Automatic Printing
-
Receipt prints automatically after payment
-
Traditional paper documentation
-
Best for locations requiring physical receipts
2. Ask Customer
-
Dialog prompts: "Print receipt" or "Email only"
-
Gives customers control over paper usage
-
Reduces paper while maintaining flexibility
3. Paperless (Email Only)
-
No physical printing
-
Receipt sent via email only
-
Reduces operational costs and environmental impact
Configuration: Administrators configure this in Preferences > Smart Bowl Cloud > Self Check-In
Configuration using the PrintPaymentTicket and AskForTicketPrint settings.
Receipt content: All modes include transaction details, itemized list, payment method, total amount, and Web Console access code with QR code.
The payment receipt includes a secure access code and QR code for the Web Console. Customers can scan the QR code displayed on their lane to access game controls on their smartphone using this code.